How to label moving boxes so you can find things later
Number every box, label two sides, and keep a list. A system that takes seconds per box and saves the afternoon you'd spend digging for a charger.
Most moving labels say something like "KITCHEN" or "MISC" in marker. That is enough for the movers to drop the box in the right room. It is not enough for you, three weeks later, when you need the phone charger, the passport folder or the kids' rain boots and you are staring at a wall of identical brown boxes.
A good label system answers two questions: where does this box go, and what is inside it. Here is a system that does both without slowing your packing down.
1. Give every box a number
Numbers are the backbone of the whole system. Start at 1 and never reuse a number, even if you repack a box. Write the number big on at least two sides and the top.
Why numbers matter:
- You can count boxes on and off the truck and know immediately if one is missing.
- Your inventory (on paper or in an app) can point to "Box 14" instead of a vague description.
- If you are using a moving company, the number on your box lines up with your own list when you check the mover's inventory at delivery.
2. Put the destination room on the label, not the room it came from
Label for where the box is going. "Office" in your old place might become "Guest room" in the new one. The person carrying the box only cares about the destination.
Some people add a color per room (a strip of colored tape or a colored sticker), then put a matching piece of tape on each door frame in the new home. Movers and friends can match colors without reading anything.
3. Label the sides, not just the top
Boxes get stacked. Once a box is under two others, a label on the top is useless. Put the label (or at least the number and room) on two adjacent sides so you can read it from any angle in a stack.
4. Write a short contents list, or better, keep a real one
The label is a summary. "Kitchen – baking: mixer, sheet pans, measuring cups" is far more useful than "Kitchen." But a marker list on cardboard has limits:
- You run out of space quickly.
- You can't search it.
- You can't read it from across a storage unit or when the box is buried.
That's where a separate inventory helps. Keep a list keyed by box number: what's in Box 1, Box 2, and so on. A notes app or spreadsheet works. So does a dedicated app (more on that below).
5. Mark the special boxes
A few boxes deserve extra marks:
- Open first. Bedding, toilet paper, chargers, medications, a few plates, a kettle or coffee maker, tools to assemble beds. Mark it on every side so it doesn't get buried.
- Fragile. Write it, and add "This side up" arrows. Movers handle these boxes differently only if they can see it.
- Heavy. Books and tools. Keep these boxes small; a large box of books is a back injury.
- Do not move. If some boxes are coming with you in the car (documents, valuables), mark them so the movers leave them alone.
6. Use QR labels when you want to see inside without opening
A QR code label links the box to a digital list of its contents. Scan the code with your phone and you see what's inside, without cutting the tape.
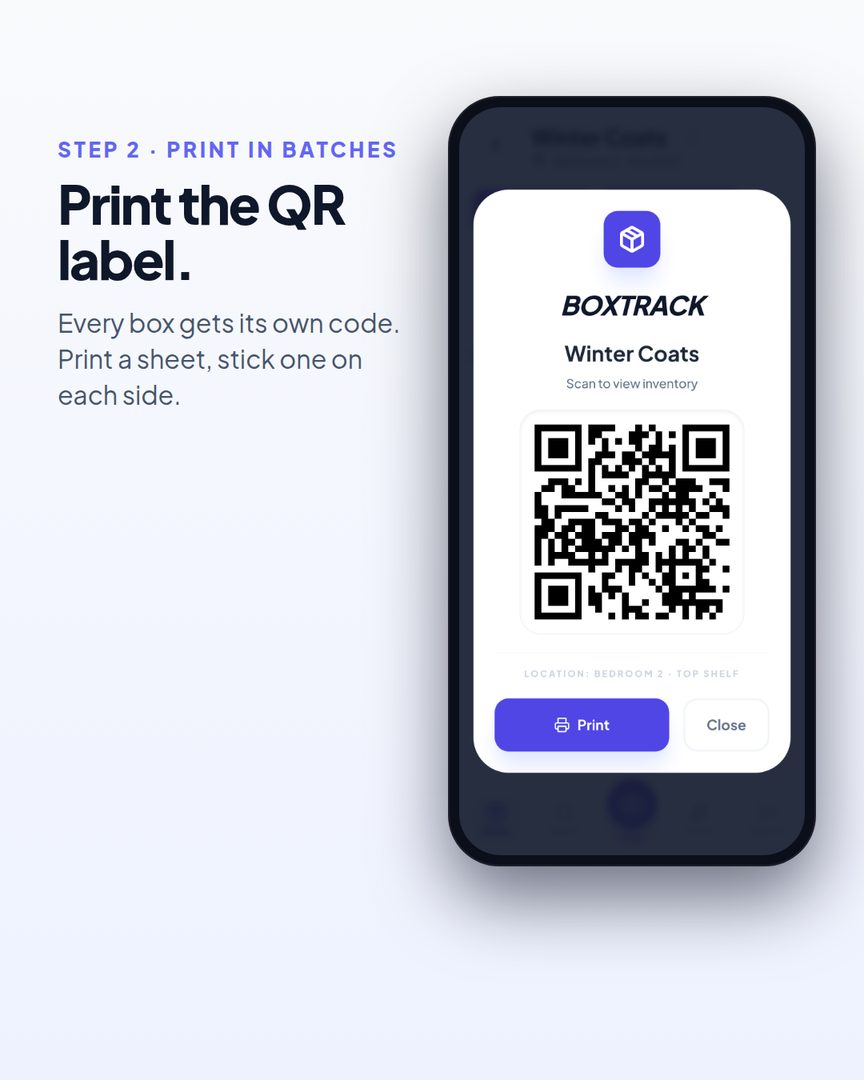
This is especially useful when:
- Boxes go into storage for months, and nobody remembers what "Misc 3" meant.
- You're moving abroad and need an itemized list for customs or insurance anyway.
- Someone else is unpacking (a partner, a relative, a helper) and needs to find things without calling you.
- Boxes are stacked and only one side is visible. A scan works from any side the label is on.
With BoxTrack, you create a box in a few seconds, print its QR label, and add items as you pack. You can type them, or snap a photo and let the AI scan list what it sees. Later, scan any label to see its contents, or search across all boxes at once ("where's the HDMI cable?").
7. Keep the system fast while you pack
Labeling only works if you actually do it for every box. A few habits that help:
- Print labels in batches before you start packing, so you're never hunting for a pen.
- Label the box before you fill it. It takes five seconds and means no box goes unlabeled when you get tired.
- Add items as they go in, not afterward. Afterward never happens.
- Tape the box, then photograph the label if you're using paper labels, so you have a backup list on your phone.
A label template you can copy
For a paper label, this format fits on a standard shipping label:
#14 · Bedroom 2 (blue) Winter coats, scarves, gloves, snow boots Packed: Oct 3 · Heavy: no · Fragile: no
Number first, destination room and color second, short contents third. If you add a QR code, put it in the corner so it can be scanned without moving tape.
The short version
- Number every box and never reuse a number.
- Label for the destination room, on two sides.
- Keep a contents list keyed by box number.
- Mark "Open first," "Fragile" and "Heavy" clearly.
- Use QR labels when boxes will be stored, shipped abroad, or unpacked by someone else.
Do this and the question "which box is it in?" takes seconds instead of an afternoon.